
Whittle a stick and learn a woodland bushcraft skill
Learning how to whittle a stick is the perfect way to pass the time as you sit within the forest. It’s an inexpensive skill to learn.
All you need is a penknife (or even potato peeler!) to get started.
And learning how to use a knife safely is also a great skill to teach children.
Here you’ll find some safety information, the different types of wood to whittle, and some whittling projects that are perfect for any beginner.
Whittling safety
Be sure to have a grown-up supervising, especially when kids are learning to whittle for the first time.
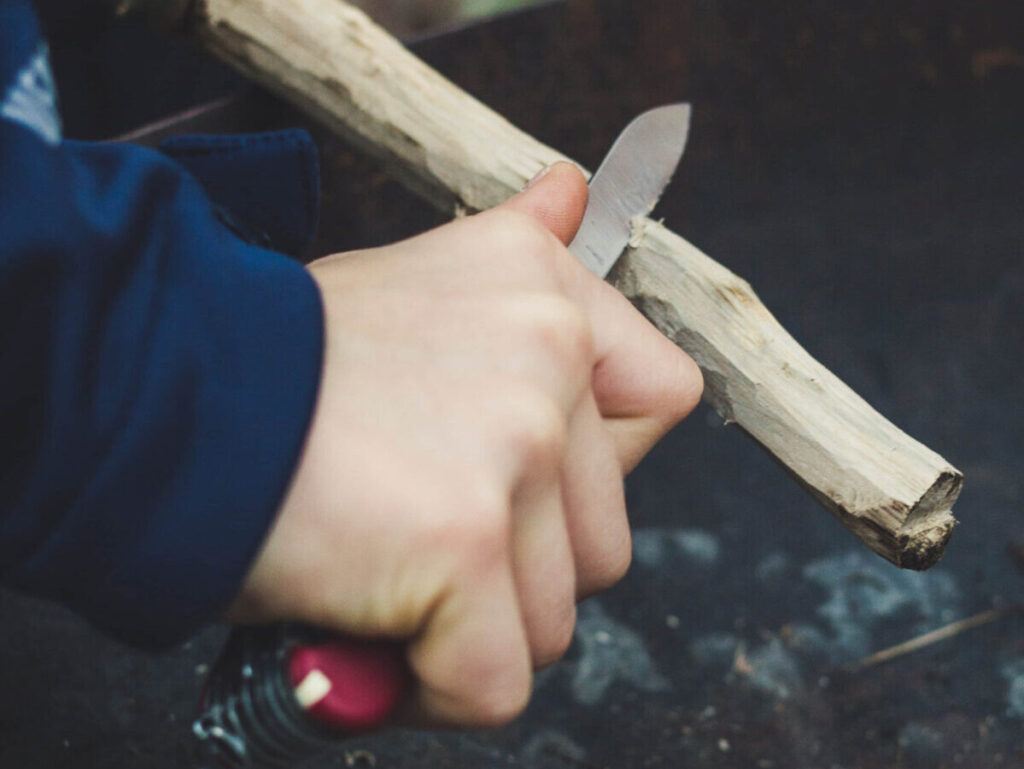
You can start kids off with a peeler, which is great for stripping the bark off wood, or go for a lockable penknife. These are better than normal penknives as they can’t accidentally close on children’s fingers. Teach them to always push the knife away from their body, holding the wood firmly with their other hand.
Although there are some techniques that do require you to whittle towards the body. I would recommend teaching younger children who are less experienced not to whittle towards their body. Then once they get a bit more experienced you can teach them how to do this in a safe way.
You can easily lose control of the knife or get it stuck if you try to cut off a piece that is too big. So teach children to only cut off a little bit of wood each time. You’re also less likely to make a mistake if you cut off smaller pieces- remember you can always cut off more wood but you can never add any more.
When you’re setting your kid up with the knife make sure they whittle in front of their knees, or to hold the wood over to one side. Teach them never to whittle with the stick on their lap as this will position the knife close to large blood vessels in the legs. You could also get them to whittle on a table. Make sure children close the blade when they want to get up or if they finish, and never walk around with the blade out.
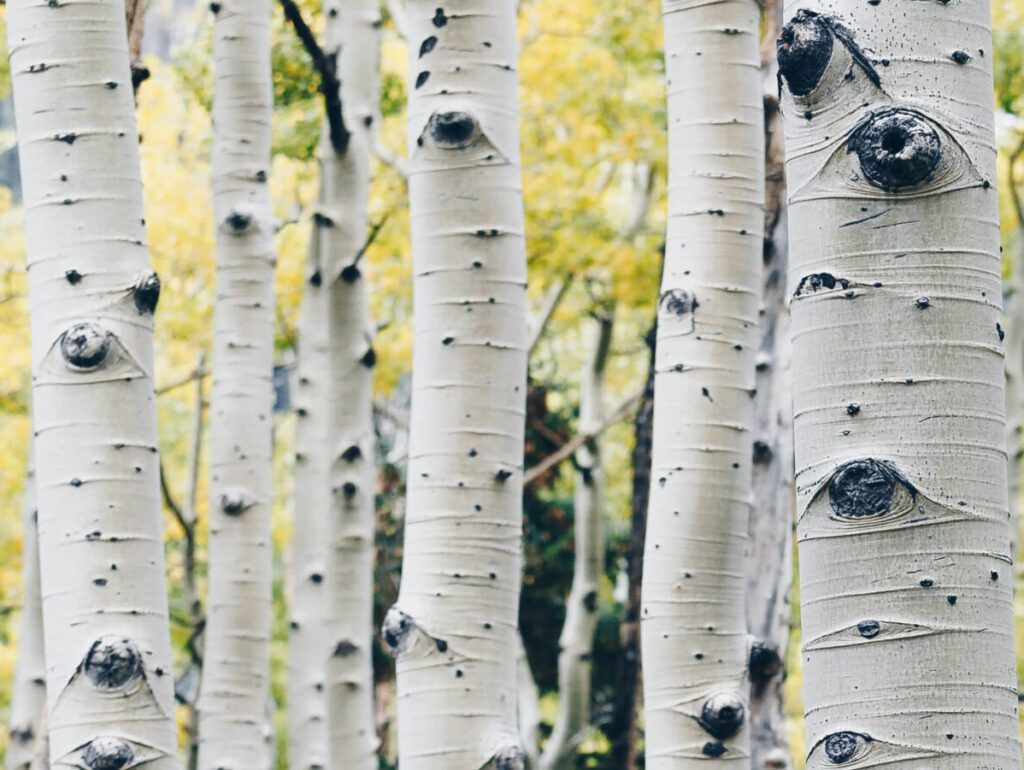
Types of wood you can whittle
Silver birch, lime, sycamore, alder and willow are all fairly soft which makes them easy for kids to carve.
If you’re making bows and arrows then look out for ash, holly, hickory and yew which are all flexible so are especially suited for making bows.
If you’re not sure how to identify these trees and would like some tips on tree identification in UK woodland, then be sure to check out my general guide to tree identification.
Remember to only cut down wood in places where you know you’re allowed, or have asked the landowner.
Tools you need for whittling
You can definitely start kids off with just a potato peeler or lockable penknife.
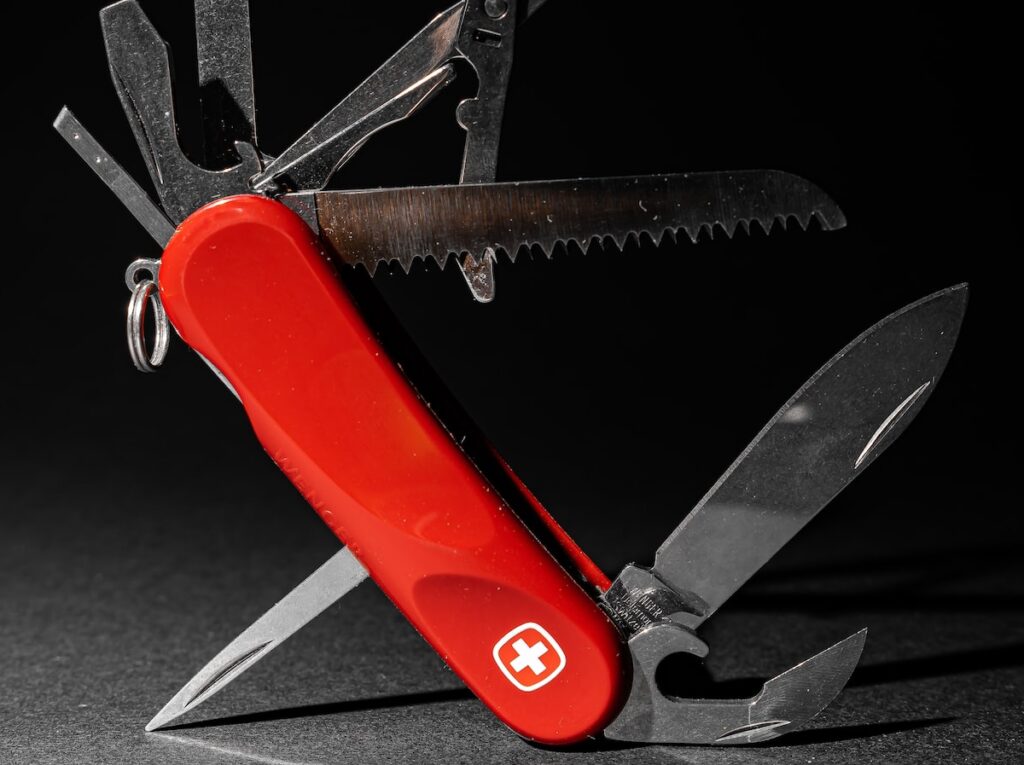
I would recommend looking out for a pocket knife with lots of different blades (a saw is especially useful). But once you get more advanced you could also invest in some special knives. A knife with a curved blade is almost essential for carving spoons, bowls and ladles.
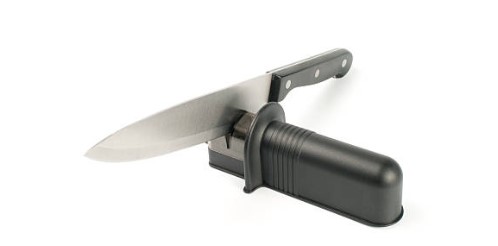
It’s also worth bringing along a knife sharpener (remember that a blunt blade is actually more dangerous than a sharp one). When you find yourself needing to push harder to cut with the knife, that’s a good indication that it’s time to sharpen the blade.
You could bring along some sandpaper with different grits to polish your finished creations, and some oil or varnish to treat the wood.
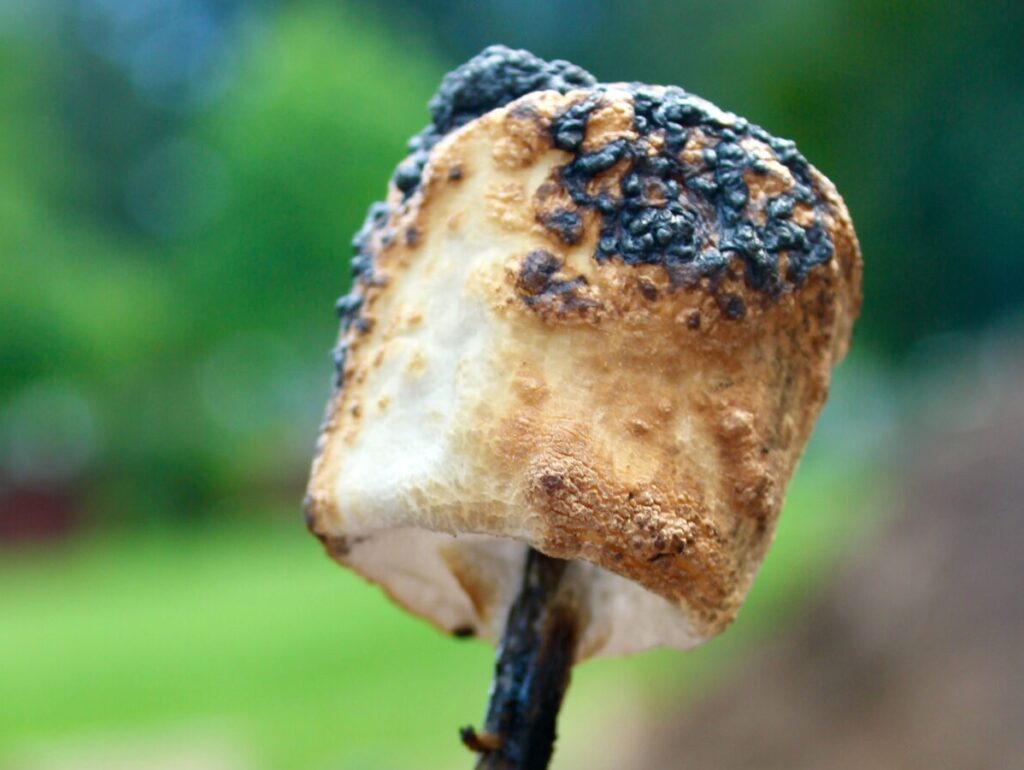
Marshmallow toasting sticks
I think that one of the best projects to make as a beginner is a marshmallow stick. It’s also extremely useful for camping. Find a stick around 0.5 thick then strip off all the bark and whittle the end into a point. That’s it!
You could even make a double, triple or quadruple pronged skewer if you find a stick with the right shape.
For loads of tips on marshmallow toasting, an essential camping activity, check out Moorish Marshmallows cooked on a stick – pack more than you think!
Making spoons
Spoons have always been one of my favourite things to whittle.
I would definitely recommend finding a tutorial online, but here is the method I usually use when making spoons. Find a piece of wood the width of your spoon head, and then cut it a few inches longer than you’d like the length of the spoon to be. Then whittle the wood lengthways to carve the handle section, holding onto the bit where the head of the spoon would be and making sure not to make it too thin.
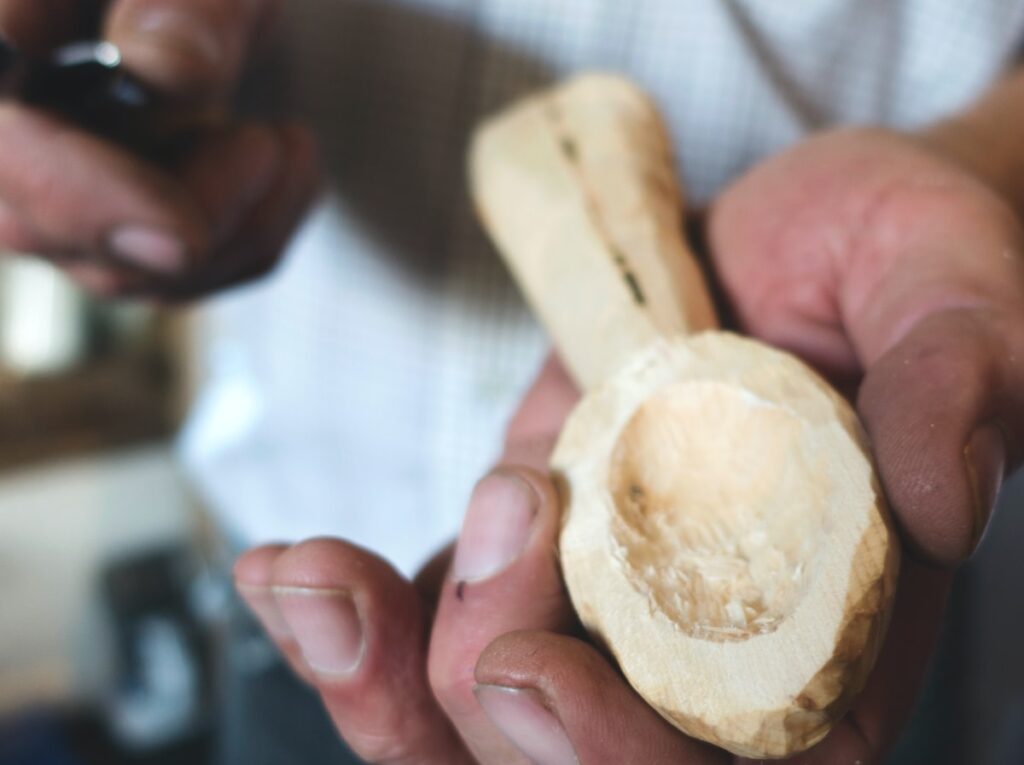
Use a saw to cut the head of the spoon to your desired length and carve the head of the spoon whilst holding onto the handle. As you can imagine, a curved knife is really useful for carving out the inside of the spoon.
It will usually take a few tries before you get it right but making spoons is so rewarding, especially as you’re creating something that you can actually use at home.
Weapons
Excitable kids will usually be keen to create spears, swords, staffs and bows and arrows and any other weapons they can play with.
Just make sure that they don’t use them to have any actual fights. If you find a y-shaped piece of wood, you could also create slingshots, these are so much fun to whittle and then try slinging acorns at a tower of stones.
You could even have a competition for who can get an acorn to go the furthest.
Or a competition to see who can knock the stone off the top of the pile first.
Let your imaginations run wild!
Once you’ve improved your whittling skills you can get creative.
You could try to create mushrooms, woodland animals (such as bears and squirrels), or carve swirls out of the wood.
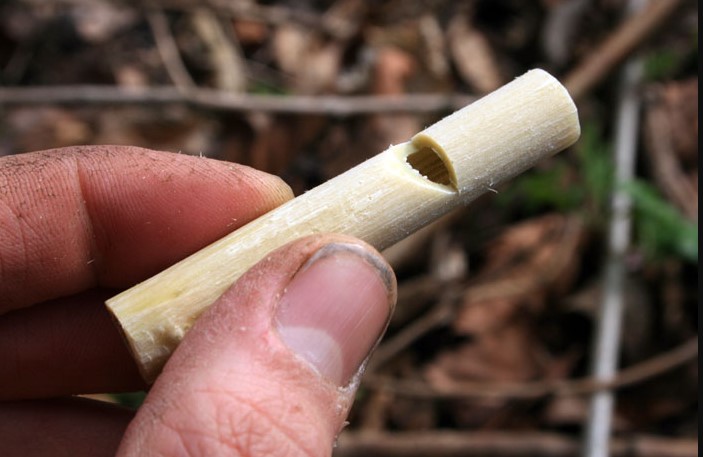
If you need some inspiration, why not look closely at the shape of the wood and see where your imagination takes you. If you find pieces of wood with a hard outer layer and a fluffy, almost hollow interior.
Then another great project is carving out the middle to create a whistle. Elder is a super wood for this and it is used a lot by forest school teachers.
Can highly recommend an article by Jon’s Bushcraft called Making an elder whistle if you’d like more detail.
Camping is the perfect time to pick up bush craft skills such as whittling!
I hope this has given you all the whittling tips you need to make it a safe and fun experience.
Here’s me signing out and thank you so much for reading
Lily Crooke / Environmental and Recreational author