
Outdoor Science Experiments For Forest Camping
Outdoor science experiments are a great way for kids to learn about the world around them, and also have tons of fun on your camping holiday!
Seeing the way science explains things they witness in the real world can bring a relevancy that they don’t necessarily get in the classroom.
Doing science experiments in the natural environment encourages curiosity, and helps kids learn vital skills like problem solving!
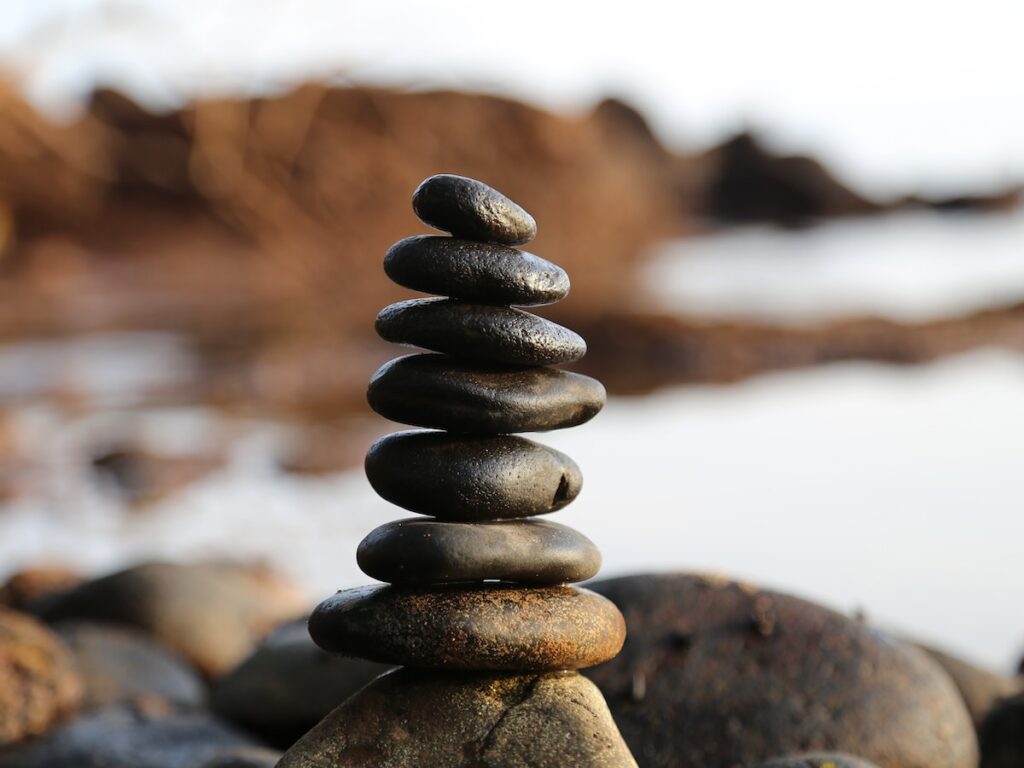
Collect rocks to experiment on!
If you’re camping by the coast, or an especially rocky area, why not collect some stones and test what type of rock they are.
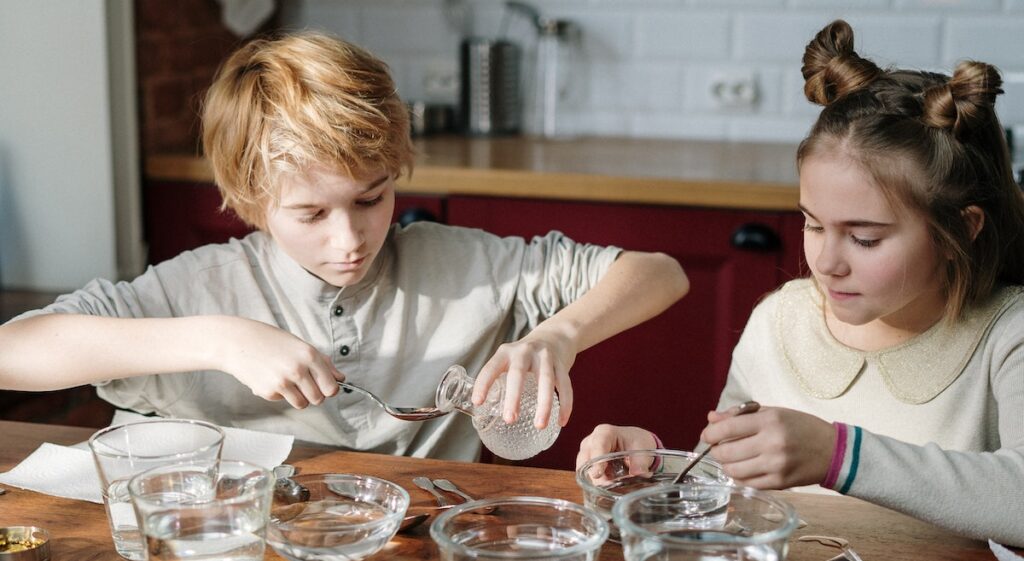
All you need to test for limestone is vinegar, which you could bring with you or very easily buy in any supermarket. You need a few bowls; I’d recommend using glass ones or transparent plastic so that you can see the experiment more clearly.
Then put each rock you collected into a bowl and pour white distilled vinegar over it until you cover at least half the rock. Very quickly, you’ll see bubbles forming around any rock containing limestone.
The science behind this experiment will be interesting to discuss with your kids.
Why not ask them why they think the bubbles formed around limestone rocks and not any of the others.
You can then explain how limestone forms- ocean animals use calcium carbonate from the seawater to make bones and shells, and when these animals die their remains are compacted over many, many years to make limestone rock.
Then explain that the calcium carbonate reacts with the acid in the vinegar (they might be shocked to learn that vinegar is actually a weak acid!) to produce carbon dioxide gas, which they see as bubbles around the rock.
Time for some desalination!
If you’re camping by the sea, why not try your hand at some desalination.
For this experiment you need a large bowl and a smaller one that can fit inside it, some clingfilm and a small rock.
Start by collecting saltwater in the larger bowl, then place the smaller bowl inside, being careful to make sure none of the saltwater spills into it.
You might need to pour out some of the water to make sure the smaller bowl is stable.
Then wrap the top of the big bowl with cling film and put a rock in the centre to make sure the freshwater collects in the small bowl.
Finally, place the bowls in a sunny spot, and leave it for an entire day.
In a few hours, there should be desalinated water in the smaller bowl, you can even taste it to test whether the experiment worked!
There is a lot of fascinating science behind desalination and salty water. S
tart by asking your kids why they think saltwater fish can’t survive in fresh water and vice versa. T
he most important thing is to get you kids hypothesising and asking questions!
You can then explain that saltwater fish pump out excess salt through their kidneys and using specialized cells in their gills.
You could discuss how humans don’t have this ability, and for us only certain types of water are ‘potable’- meaning humans can drink them.
To make saltwater potable you need to desalinate it first. The process of desalination has a few stages, first the seawater is evaporated to make water vapour- leaving the salt in the container.
Then the vapour condenses to become liquid again and falls into the smaller bowl producing pure water, which is potable (drinkable).
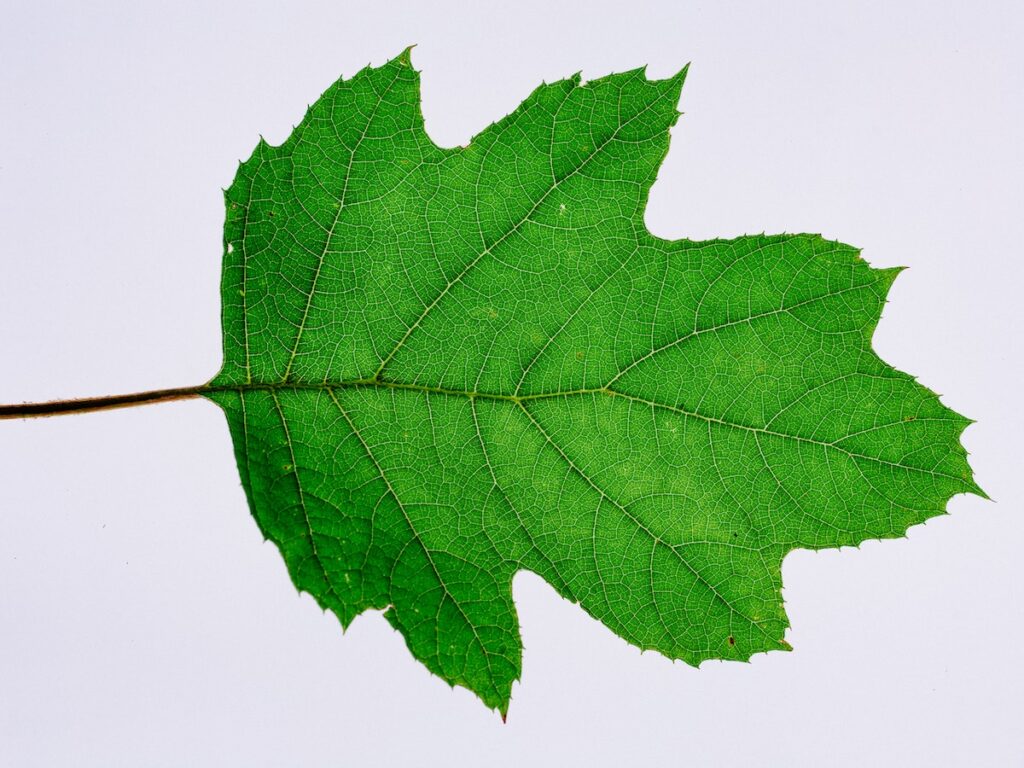
Leaves are perfect for camping experiments
This is a great science experiment that more artistic kids will definitely enjoy. All you need are lots of different types of tree leaves, some white or coloured paper (lighter paper normally works best) and dark crayons.
Put the leaf face down on the paper and use the side of the crayon to rub across it.
When you remove the leaf, it should reveal its veins and outline.
To teach kids how to identify the leaves they’re looking at, check UK tree identification – bark and leaves.
Why not ask your kids what they think plants use the veins for, discussing the things plants need to survive.
Then explain that the veins in leaves are made up of two types of long, tube-shaped cells called xylem and phloem.
The xylem cells transport water, and phloem cells transport sugars throughout the plant.
You can also do another science experiment with kids to explain how plants breath, as they don’t only transport water and sugars, but also gases like humans do when we breath in and out.
For this experiment you’ll only need a transparent bowl, glass or plastic will work well.
Pick a leaf from a tree, it’s important that you get a living one for the experiment to work.
Then fill the bowl with water and fully submerge the leaf, placing something heavy like a rock to weigh it down.
Leave it in the sun for a few hours, getting on with any of your camping activities, then have a look at the bowl.
Bubbles should have formed around the leaf and on the side of the bowl.
A drop of washing up liquid helps you see the bubbles, just make sure you add this to still water so you don’t make the bubbles in advance.
You can explain that in this experiment they are seeing photosynthesis, when plants turn sunlight into energy. In photosynthesis, plants capture light energy and use it to convert carbon dioxide and water into oxygen and energy rich sugars (which are transported in the phloem tubes).
The bubbles you see are oxygen which the plant doesn’t need, and as the bubbles are lighter than water they float up.
They might be amazed to learn that the oxygen they’re breathing at that very moment has been produced by a plant!
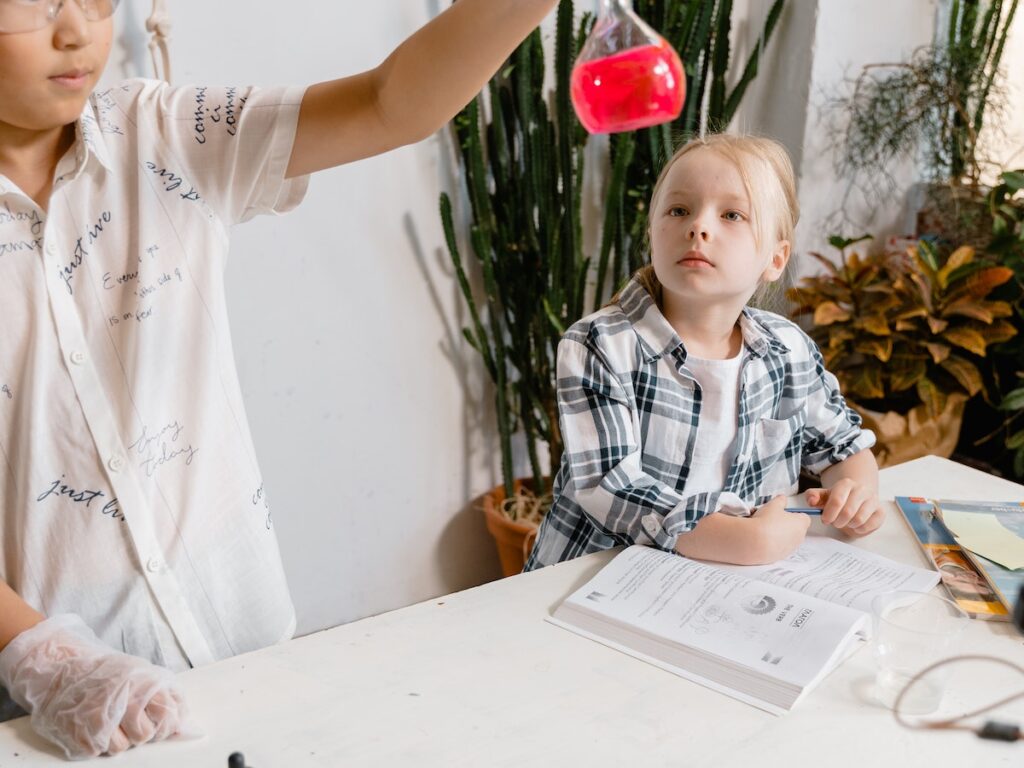
Food experiments always go down a treat!
Kids will really appreciate experiments involving sweets as they get to have a tasty snack, and won’t even realise they’re learning until its too late!
You could make marshmallow constellations to teach them about the stars. All you need for this fun activity is lots of skewers and a big bag of marshmallows! You can look up constellations on your phone, and get the kids to recreate them by breaking the skewers and using a marshmallow for each star.
Once the sun has set, why not help the kids to identify constellations in the real night sky for an unforgettable experience!
However old they are, all kids love the diet coke and mentos experiment. All you need for this one is (as the name suggests) a big bottle of diet coke and a packet of Mentos!
If you’re doing the experiment in your camping area, be sure to put down a tarp first to make clear up much easier. Then all you need to do is open the coke bottle and drop in a few Mentos. Then step back and let the kids watch the bottle erupt!
You can discuss why this happens.
The Mentos aren’t actually as flat as they seem, they have lots of little bumps on the surface. This rough surface means there are many more places for bubbles to grow so the explosion happens!
It is essentially the same thing as shaking a fizzy drink to make it fizz, but on a much larger scale!

Even after dark, kids can carry on learning and having fun.
Check out General discussion and stories around the campfire for some more ideas on how to teach your kids about the natural world whilst camping.
I hope you and your kids have lots and lots of fun with these camping science experiments and learn something new as well!
Here’s me signing out and thank you so much for reading.
Lily Crooke / Environmental and Recreational author